

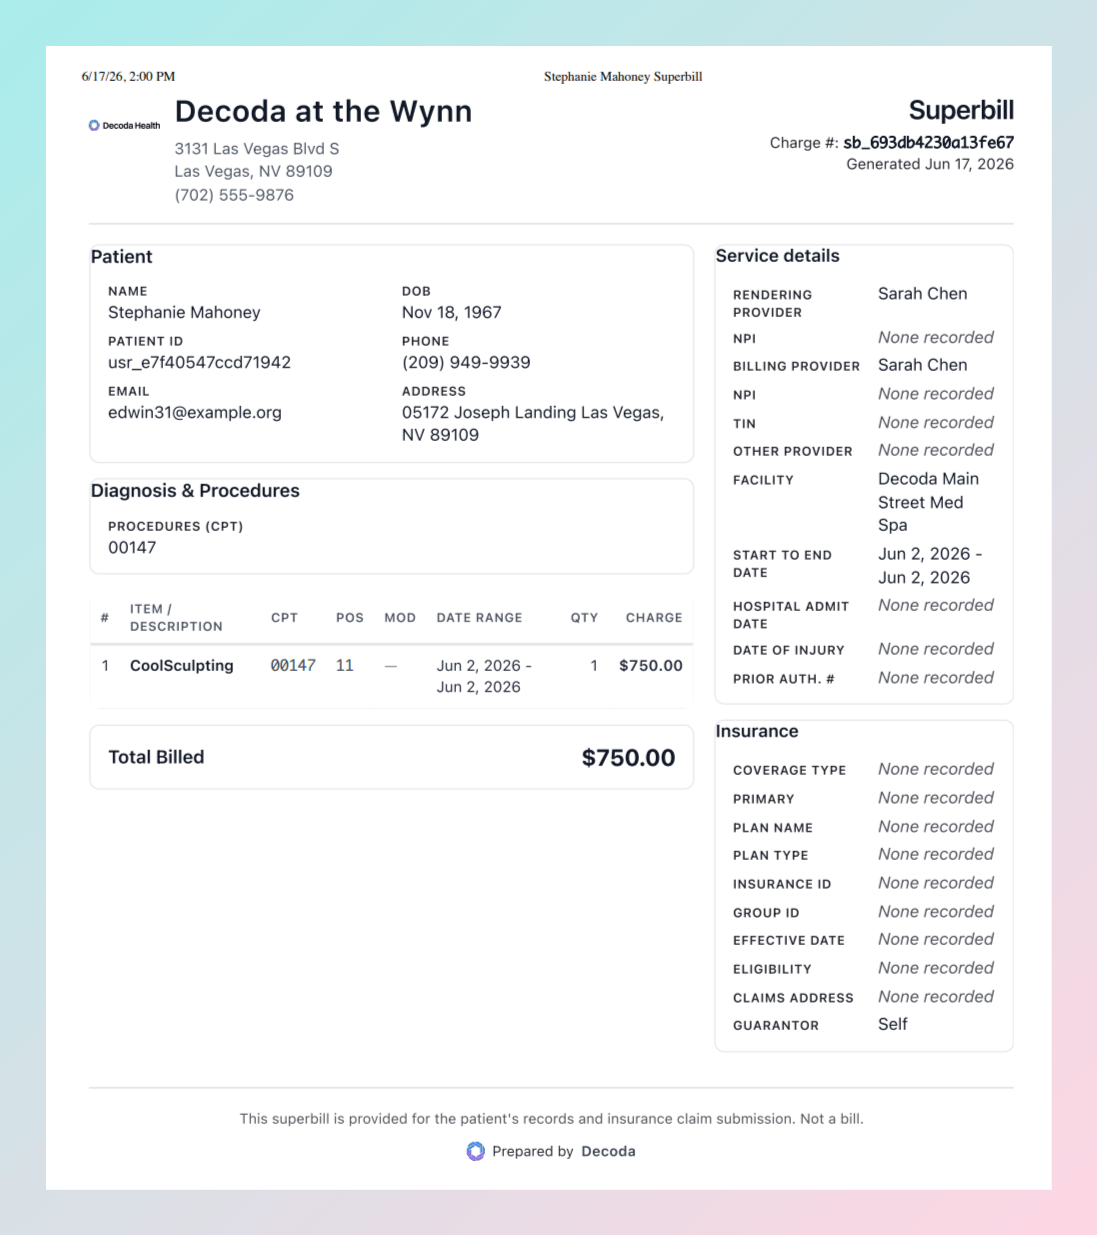
A finished Super Bill ready to print or email to the patient.
Prerequisites: Super Bills fill in faster when you record the patient’s insurance on their chart and set default billing codes on your services. Both are optional — you can also enter everything by hand.
Build a Super Bill from a Visit
Open the patient’s chart and go to the Billing tab. In the Super Bills section, click Construct Super Bill.1
Pick the charges
Select the visits and charges you want to bill. Past visits load newest first; click Load more to page back through the patient’s history. Charges from the visit you started from are pre-selected — add more as needed.
2
Add insurance
Pick the insurance that applies, or add one without leaving the window. Click Add insurance to enter a new coverage, or edit and remove the coverages already on file. Start typing in Insurer to pick a plan from your saved carriers instead of retyping it. You can select more than one — the first becomes the primary payer. With none selected, the bill falls back to Self-pay.
3
Construct
Click Construct. Decoda creates the Super Bill and opens it in the editor.
Build a Super Bill from a Note
If the visit already has a clinical note, you can do the billing without leaving the note.- In the note’s actions menu, click Link Superbill. In the window that opens, pick a Super Bill the patient already has and click Link, or click Create new to start one from this visit’s charges.
- Once the note has a Super Bill, that same action reads Replace Superbill. The window names the bill the note is on, and that bill is greyed out in the list as Already linked to this note — so pick a different one to move the note, and it never ends up on two.
- The note’s Super Bill opens on its own Superbill tab, where you can add codes and details in place. Everything you type there saves on its own, and the tab strip tells you when it has.
- Print in the note’s actions menu follows the tab you’re on: on the Superbill tab it prints the Super Bill, and on any other tab it prints the note. The printed Super Bill is the same document the full editor prints.
- To email the bill to the patient, or to see what it adds up to, open it in the full editor from the Super Bills list on the patient’s Billing tab. The note’s tab is for the codes and claim details, not the whole bill.
- Duplicating a note copies its Super Bill too, and links the copy to the new note. The copy carries the codes, claim details and insurance you had filled in, but none of the original’s charges — so nothing already paid for follows it, and editing the copy never changes the bill you copied from. Add the copy’s charges yourself, or leave it as a claim to re-bill.
- All of this works the same on an AI Scribe note and on a saved manual note.
Edit the Super Bill
A Diagnosis & Procedures summary at the top of the editor (and on the printed bill) groups the CPT/HCPCS and ICD-10 codes drawn from the linked note and the per-line entries — useful for a quick scan before you send it. The editor lets you review and complete everything an insurer needs. For each billed item, edit the fields directly on its row:- CPT/HCPCS billing code — type to search the CPT/HCPCS catalog, then pick a result.
- Modifier(s) — search and add the standard CMS modifiers; multiple modifiers are stored as separate chips. The picker also offers the ABN insurance modifiers GA, GX, GY, and GZ for any code — use these when the payer, not the procedure, determines coverage (for example, GY on 99213 to bypass Medicaid).
- ICD-10 Diagnoses — search by code, description, or common lay/workflow terms (e.g. “dexa” surfaces Z13.820, “sore throat” surfaces pharyngitis codes). Add as many as apply.
- Place of Service — pick the CMS place-of-service code (e.g.
11 — Office,02 — Telehealth). - Rendering Provider, Facility, Billing Provider, and TIN (the billing provider’s Tax Identification Number).
Add, Copy, and Remove Lines
Click + Add line item at the bottom of the list to start a blank line you fill in yourself. To bill the same service more than once on one bill — a repeat visit, a second body site, or units split across separate lines — click Duplicate on the line you want another copy of. The copy appears directly below it, carrying over the billing code, modifiers, diagnoses, NDC, place of service, dates, count, and amount. Change whatever differs, such as the date or the number of units. Both lines count toward the bill’s total, and a code that now appears twice is still listed once in the Diagnosis & Procedures summary. A copy isn’t tied to the original charge, so it shows a Remove link instead of the Include checkbox that charges from the visit have. Use Remove to delete a line you added or copied; you’ll be asked to confirm, since the codes typed on that line go with it. Lines that came from the visit’s charges can’t be removed — clear the Include checkbox to leave one off the bill instead. The editor also shows the Primary Payer, Plan Name, Coverage Type, and Claims Address, pulled from the patient’s insurance on file. Add Notes for the patient or payer if needed.Send or Print
When the Super Bill is ready:- Click Print / Save PDF to print it or save a copy.
- Click Email to send it to the patient. The bill goes to the patient’s email address on file.
If the patient has no email on file, the send option is disabled. Add an email on the patient chart first.